Creating signatures
There are multiple ways to create FLIRT signatures. An easy way is using IDA Pro interactively or programmatically. We’ll cover these options now.IDA Pro
If you have IDA Pro, you can use it to generate signatures. The first step is to set the right names for functions of interest (the ones that will be used in rules) as the image below shows.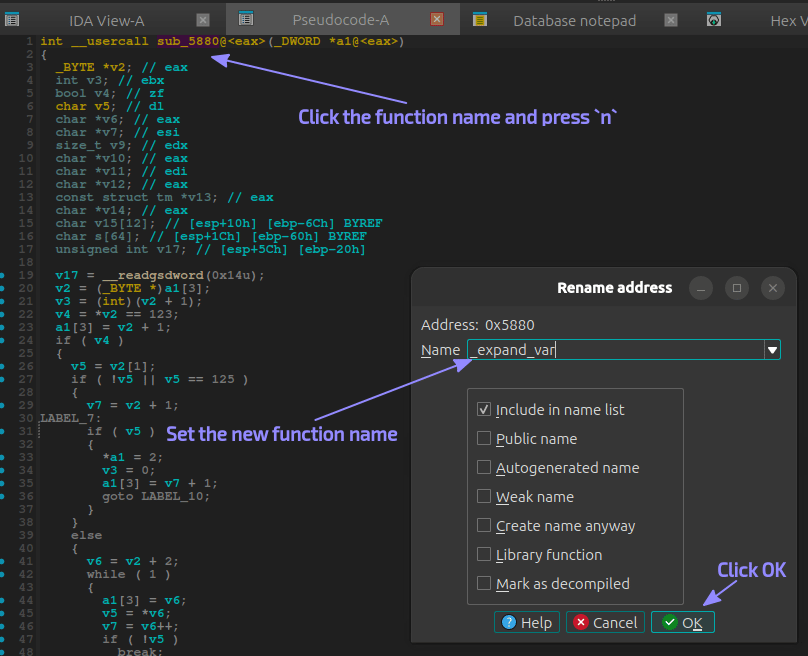
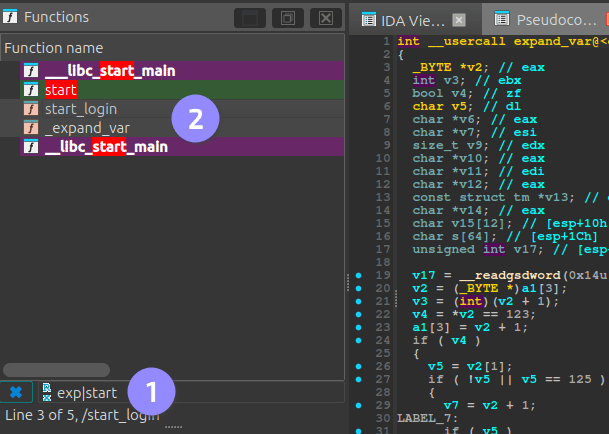
Ctrl key for multiple selection):
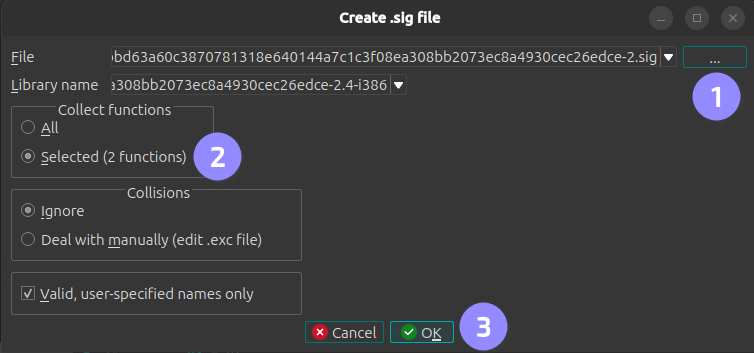
File ▸ Produce ▸ Create SIG File..., set the output path and make sure the option to create signatures only for the selected functions is checked before clicking OK:
IDA Domain API
This is a new Python API shipped with IDA 9.1.0 or later. The manual process above can be automated by the following Python script.
Before running the script, make sure you have a copy of the IDA database (.i64 file) as this will be overwritten.
create_signatures.py
Thedb.functions.get_allmethod from the IDA Domain API does not return functions such asderegister_tm_clonesand a few others. As a result, the script does not remove them from the database before callingdb.signature_files.create(). If you do not want to create signatures for these functions, remove them from the generated PAT and regenerate the SIG file using:sigmake -v <pat-file> <sig-file>. Thesigmaketool is part of the IDA SDK.
Applying signatures
With the SIG file created, you only need to compress it with Gzip and put it to VulHunt’s data folder. The naming convention isproject_name-architecture.sig.gz, e.g., telnetd-x86-LE-32.sig.gz.
Now in your rules you can use: